
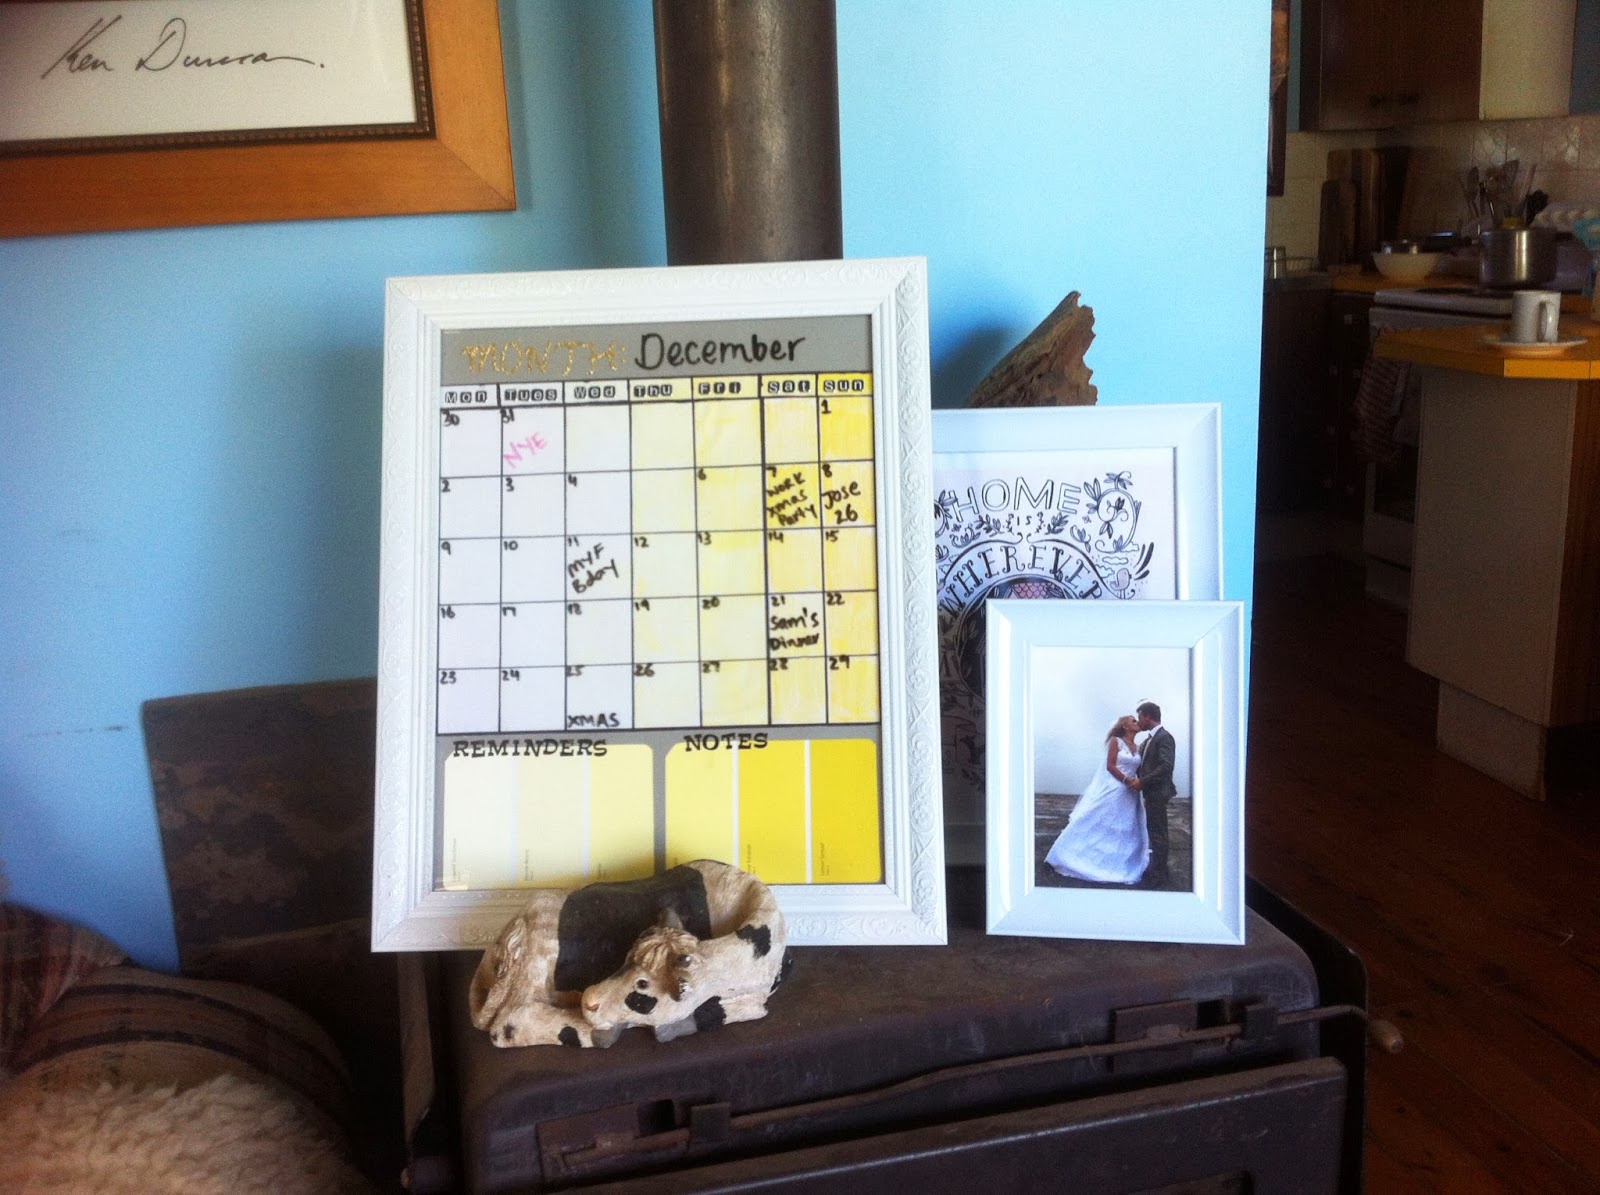
I have seen different versions of these calenders floating around on Pinterest, however, I liked this version the best as it was larger and included extra things like "notes" at the bottom. I have been wanting to complete this project for MONTHS so I decided to tackle it first, plus I had the supplies already at home.
.JPG)
I wanted to make my calendar colorful, plus, if you know me you know I love the colour yellow - so it had to be used! I found yellow paint swatches from Bunnings in my craft box and decided to use these for my "notes" section, creating an ombre look. The calender part is literally an A4 sheet of white paper, which I measured 5cm x 5cm for the weekdays and 4cm x 5cm for the weekend days.
.JPG)
I glued both the colour swatches and A4 paper to grey cardboard, measuring equal lengths from the top, bottom and sides so it was even. In hindsight, I shouldn't have glued the A4 paper, as it created some small bubbles. But the good thing about this calender, is I can update it and change it whenever I need to - I just have to start again! Not something I wanted to do right away, so I decided to overlook the bubbles for now. I used scrap booking letter stickers for the headings and days of the week, I am so glad I didn't hand write it, it would not have ended pretty!
.JPG)
I wish that I had a bigger frame at home to use when making this, I really liked the name and quote addition on the one in the tutorial I followed, but I may update it again soon. All in all it was a successful project and I have a feeling it will become highly useful, especially with Christmas on it's way! For the time being it rests on top of our fireplace, until Benn get's a chance to put some hooks in the wall for me :)

No comments:
Post a Comment